
START HERE
The short answer
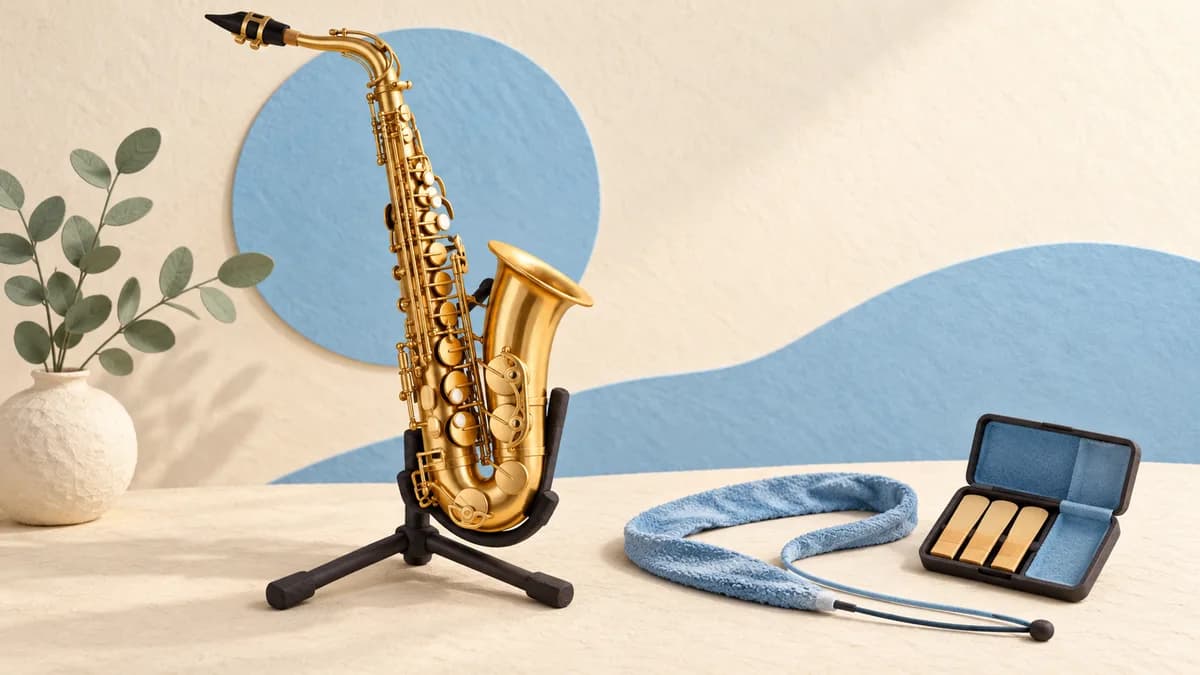
Remove the reed, clean the mouthpiece and neck with suitable tools, swab the body as its instructions direct and gently wipe the exterior. Dry and store the reed separately. Never force a stuck swab, soak the assembled saxophone or dismantle the keywork.
- Use a swab designed for the correct instrument and component.
- Keep pressure off delicate keys and pads.
- A leak, loose key or stuck swab calls for a technician, not extra force.
Prepare the instrument and a clean work area
Place the instrument securely and remove the reed and ligature carefully. Keep small parts together on a clean surface where they cannot roll away. Support the saxophone by its sturdy body rather than using a key as a handle.
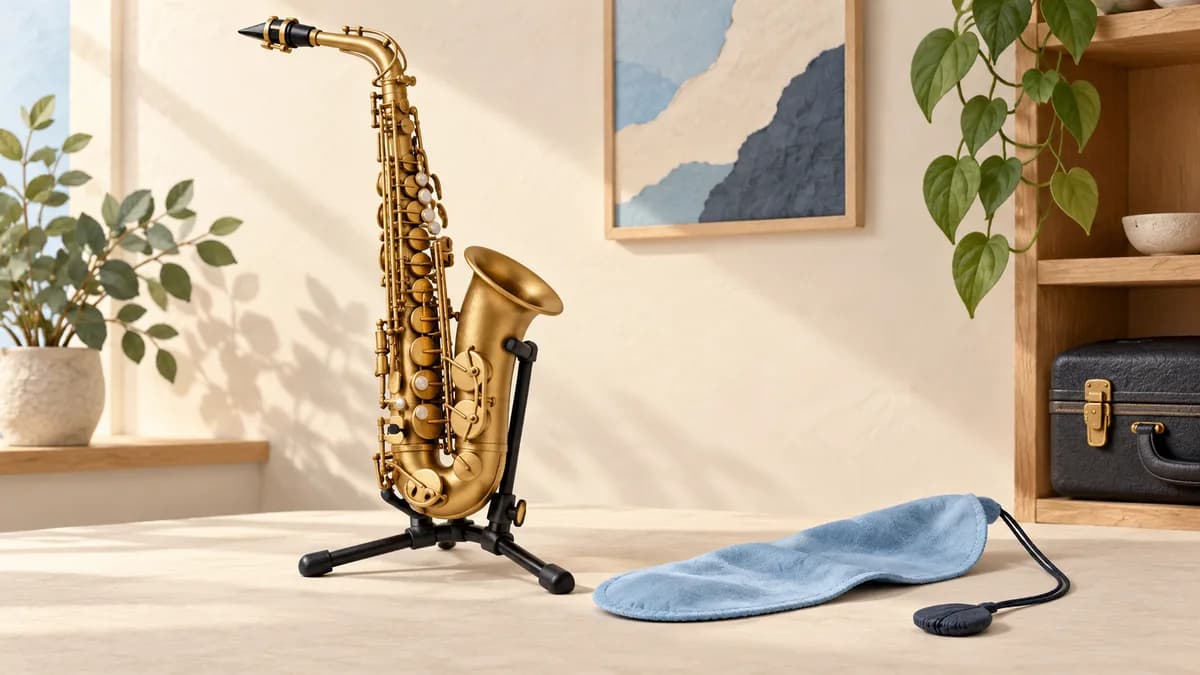
Check that the cleaning cloth and swab are clean and dry. A tool that fits the body may be too bulky for the mouthpiece or neck. Read the accessory instructions before threading it, especially if you have changed from alto to tenor or another size.
Sources: Yamaha: saxophone care after playing; Yamaha saxophone owner manual: maintenance
Swab the body without forcing the cloth
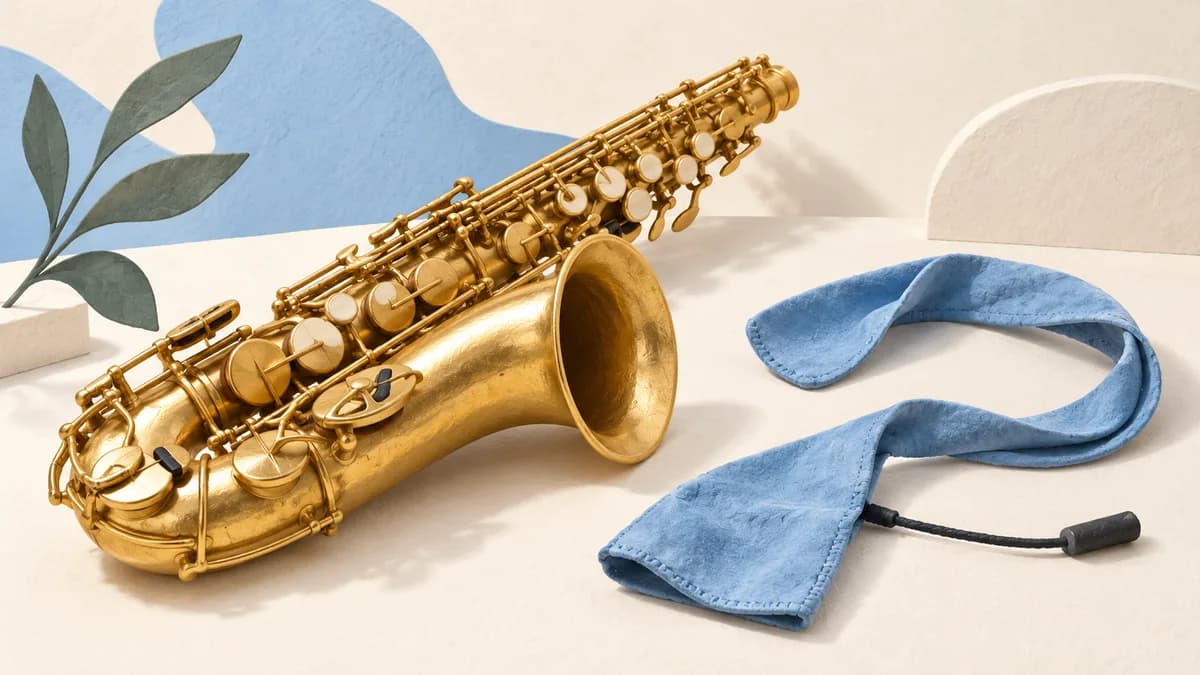
Use the correct body swab and the direction specified for your instrument. Yamaha describes passing soprano, alto and tenor swabs from the bell toward the neck joint; its baritone instructions differ. Do not generalize one method to every saxophone.
Keep the cloth unfolded as directed and stop if it binds. Pulling harder can lodge it more firmly or damage the instrument. A swab that becomes stuck is a service problem. After swabbing, keep the tool out of the instrument rather than leaving a damp cloth inside the bore.
Sources: Yamaha: saxophone care after playing; Yamaha saxophone owner manual: maintenance
Treat the mouthpiece and neck separately
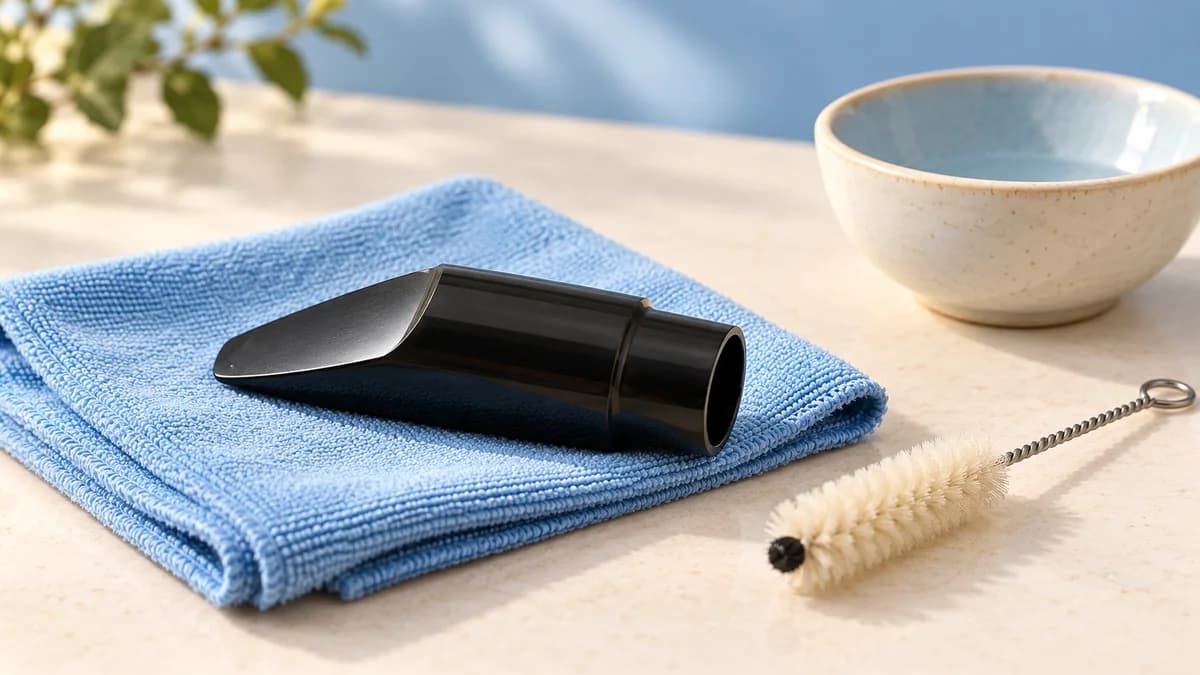
Remove moisture from the detached neck and mouthpiece using appropriately sized tools. Protect the mouthpiece tip and rails, which are easy to damage. Yamaha's manual specifically warns against pulling its swab all the way through the mouthpiece.
For deeper cleaning, follow the mouthpiece maker's material-specific instructions. Yamaha gives mild detergent and lukewarm water as a mouthpiece-cleaning method, but do not transfer that to soaking the whole saxophone. Avoid hot water, abrasive cleaners and improvised chemicals that may affect the finish or material.
Sources: Yamaha saxophone owner manual: maintenance; Yamaha: brass and woodwind maintenance guidance
Dry and store the reed separately
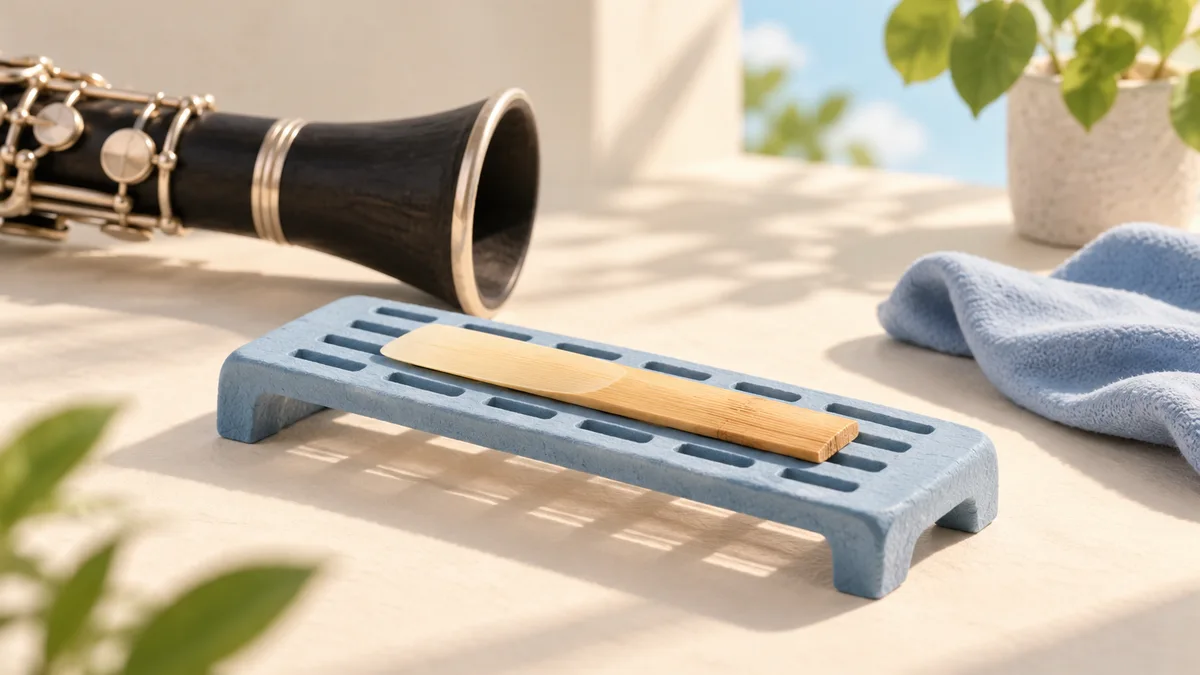
Remove the reed after each session and handle it by the thicker section rather than the delicate tip. Let it dry and store it in a suitable reed holder according to its maker's instructions. Leaving it clamped on the mouthpiece is not a storage routine.
Cane and synthetic reeds may have different care guidance. Do not assume a cleaning chemical or soaking method is suitable for both. Replace a damaged reed rather than trying to solve a chipped tip by tightening the ligature or biting harder.
Finish gently and know when to stop
Wipe fingerprints with a suitable soft cloth, taking care not to snag springs or press on keys. For damp pads, use the manufacturer-approved cleaning paper procedure. Yamaha warns not to pull paper out while holding the key down; release the pressure first.
Persistent sticking, a bent key, a loose mechanism or a sudden difficulty producing notes needs a teacher or repair technician. Do not remove keys or bend parts to compensate. When comparing instruments, include access to service and the cost of regular maintenance in the buying decision.

Sources: Yamaha: saxophone care after playing; Yamaha saxophone owner manual: maintenance
Common questions
Can I wash the whole saxophone in water?
Do not immerse the assembled instrument. Pads, mechanisms and finishes require different care; follow the manual and leave deeper servicing to a technician.
What if the swab gets stuck?
Stop pulling and contact a repair technician. Extra force can make the problem worse.
Should I leave the reed on between sessions?
Remove it and store it in a suitable holder using the reed maker's care instructions.
PUT IT INTO PRACTICE
Compare your options
Compare instruments with attention to setup, accessories, support and sampled owner feedback.
Saxophone brands and representative modelsSources and editorial approach
ChooseRight researched the sources below to explain the topic and its practical trade-offs. Examples are illustrations, not results from our own product testing. Sources checked October 28, 2026. Artwork is AI-generated for explanation and does not document hands-on testing.