
START HERE
The short answer
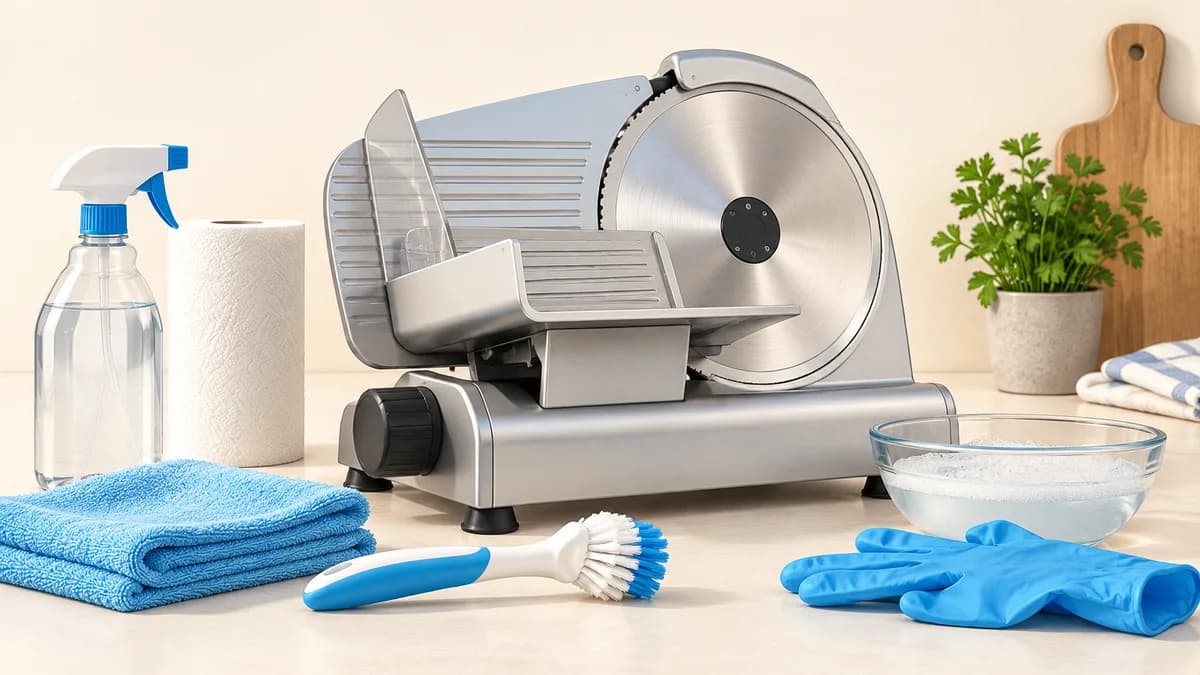
Switch the slicer off, unplug it and wait for the blade to stop before cleaning. Follow the exact model manual for removing and washing parts, keep the powered base out of water, and distinguish cleaning from food-contact sanitizing. Never improvise blade removal or run the blade against a cleaning cloth.
- Use the model manual for blade handling, removable parts and reassembly.
- Remove food residue before any sanitizing step; follow compatible product labels.
- Stop using a slicer with damaged guards, seals or other safety-related parts until it is assessed.
Set up before approaching the blade
Switch off and unplug the machine. NESCO's FS-250 instructions warn that its blade continues moving briefly after shutdown and require cooling before cleaning. Keep hands clear until motion has stopped; do not rely on the switch alone.
Arrange a clear workspace where removed parts can remain visible. Keep the manual open at its cleaning section. Our suggested preparation checklist is intended to prevent interruptions, not to replace the appliance's safety instructions.
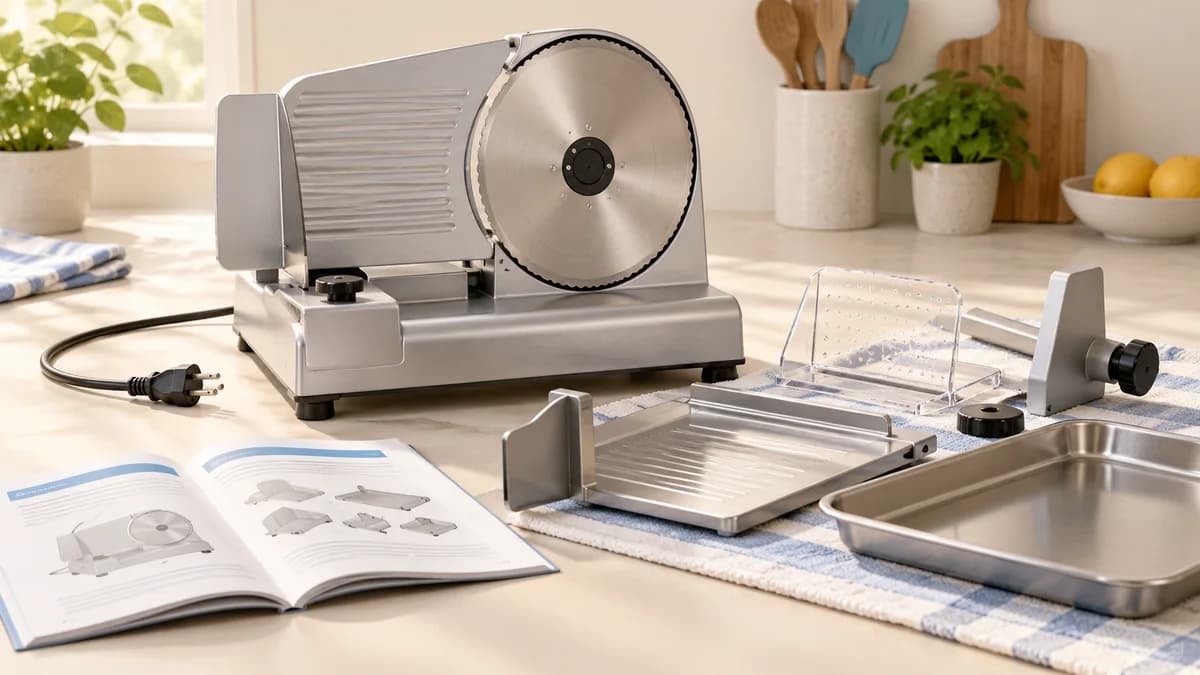
- Confirm the model number and obtain its manual.
- Move food and unrelated utensils away from the cleaning area.
- Prepare the cleaning materials permitted by the manufacturer.
- Decide where sharp parts will rest safely before removing anything.
Sources: NESCO: FS-250 manual, safety and cleaning instructions
Separate washable parts from the powered base
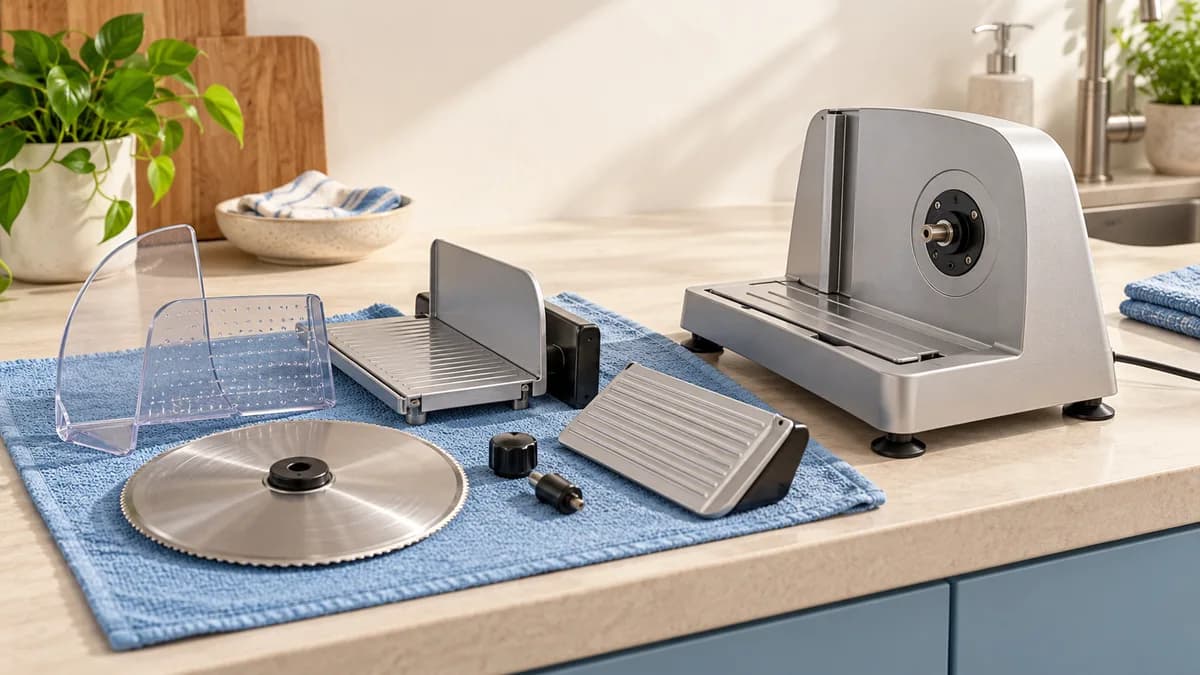
Only remove components using the procedure for your own slicer. For example, NESCO's FS-250 manual describes hand-washing removable parts and wiping the base; it explicitly prohibits immersing the base. It also warns against leaving the blade underwater, where handling it becomes hazardous.
A separate OSTBA manual permits dishwasher washing for removable parts. That is not permission to put another slicer's components in a dishwasher. Material, model and manual revision matter. A photo that looks like your appliance is not enough to establish that its instructions apply.
If a blade release or guard does not match the manual, stop and ask the manufacturer. Do not force an unfamiliar fastener or substitute a disassembly video for a matching instruction sheet.
Sources: NESCO: FS-250 manual, safety and cleaning instructions; OSTBA: SL518 200W manual hosted by Home Depot
Cleaning and sanitizing solve different problems
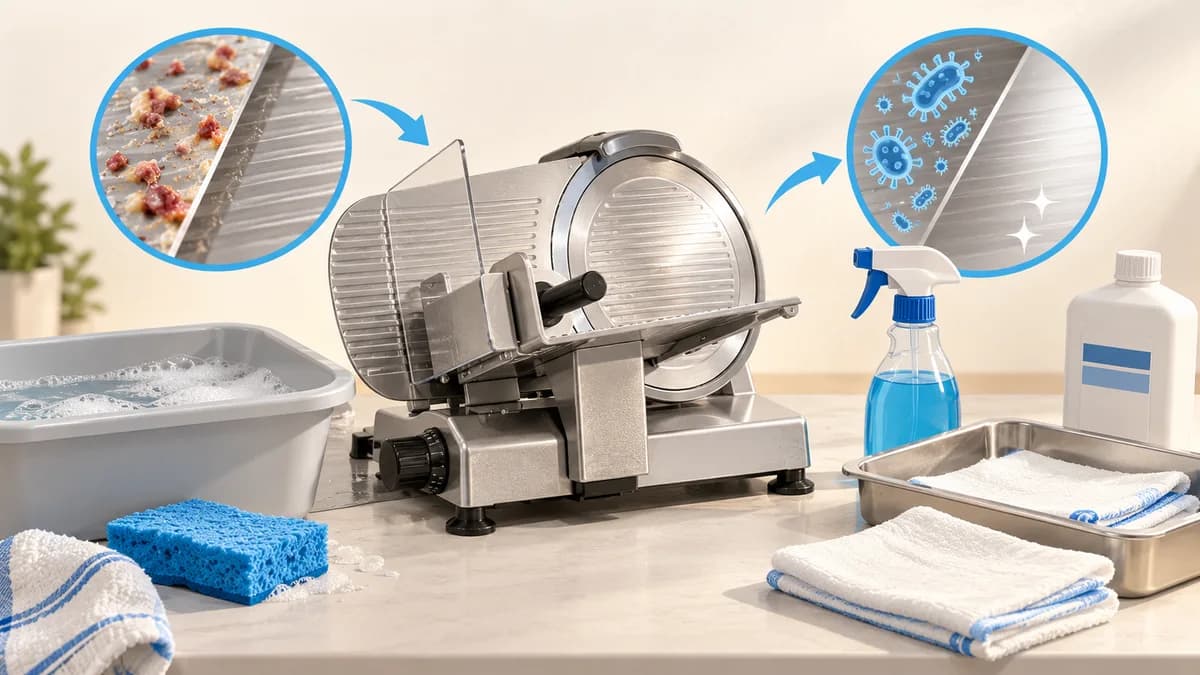
USDA distinguishes removing dirt and food residue from reducing remaining germs with a sanitizing step. Cleaning comes first. A surface that looks tidy after a quick wipe may still need the full process required for that equipment.
Use a product intended for food-contact surfaces and compatible with the slicer's materials. Follow its label for dilution, contact time and whether rinsing is necessary. A household disinfectant should not be assumed suitable for food-contact equipment, and a stronger mixture is not an improvement on the labeled instructions.
Use clean cleaning materials rather than repeatedly spreading residue around. This guide does not give a universal bleach recipe: the chemical label and equipment instructions both need to be satisfied.
| Stage | Question to answer |
|---|---|
| Cleaning | Have food residue and soil been removed from the permitted surfaces? |
| Sanitizing | Is the product appropriate for food contact and the appliance material? |
| Label directions | What contact time and any rinse step does this product require? |
| Reassembly | Are parts ready to reinstall as the model manual specifies? |
Sources: USDA FSIS: cleaning and sanitizing food-contact surfaces
Look beyond the obvious surfaces
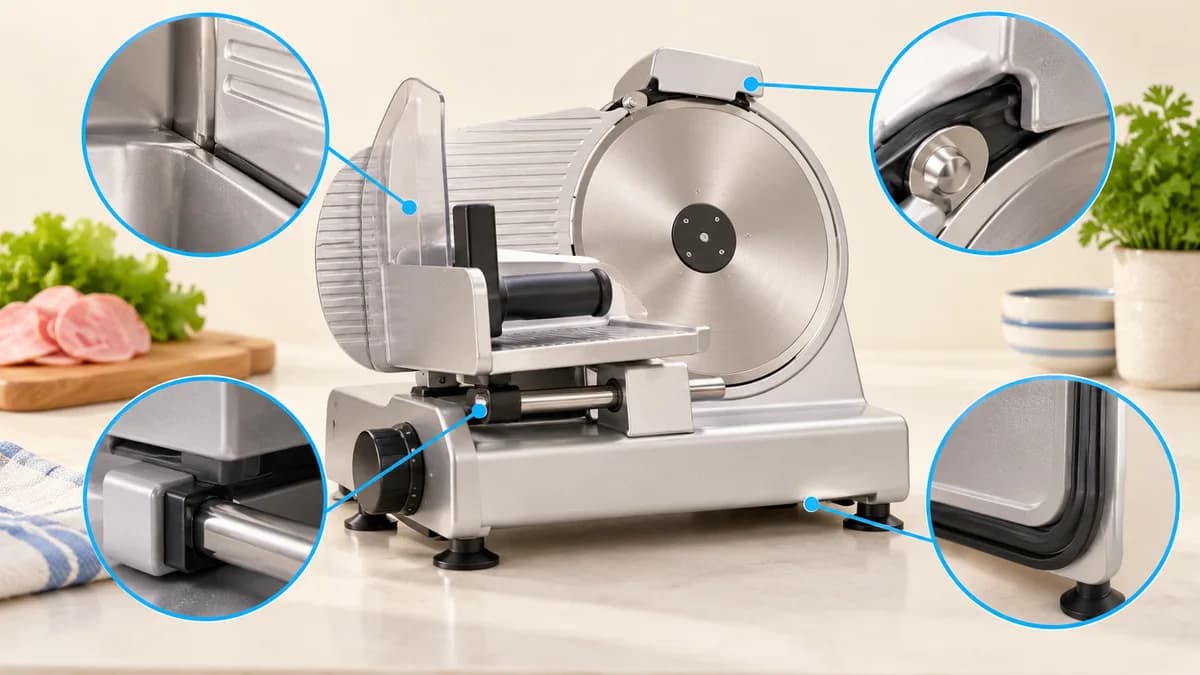
The FDA's commercial deli slicer guidance highlights seams, seals, gaskets and hard-to-reach areas where debris can remain. It also warns that damaged seals or joints can undermine cleaning. Those are useful inspection prompts when checking a home machine, even though a household model has its own instructions.
The FDA document describes cleaning and sanitizing commercial deli slicers at least every four hours. That commercial guidance is not permission to leave a home slicer dirty until four hours have elapsed. Plan cleanup after your slicing session and follow your manual and food-handling needs.
If you find a damaged guard, deteriorated seal or inaccessible residue, pause use and ask the manufacturer about cleaning or service. Do not scrape a damaged joint with a sharp tool or treat a broken component as merely cosmetic.
Sources: FDA: keeping commercial deli slicers safe; NESCO: FS-250 manual, safety and cleaning instructions
Plan food handling and the next use
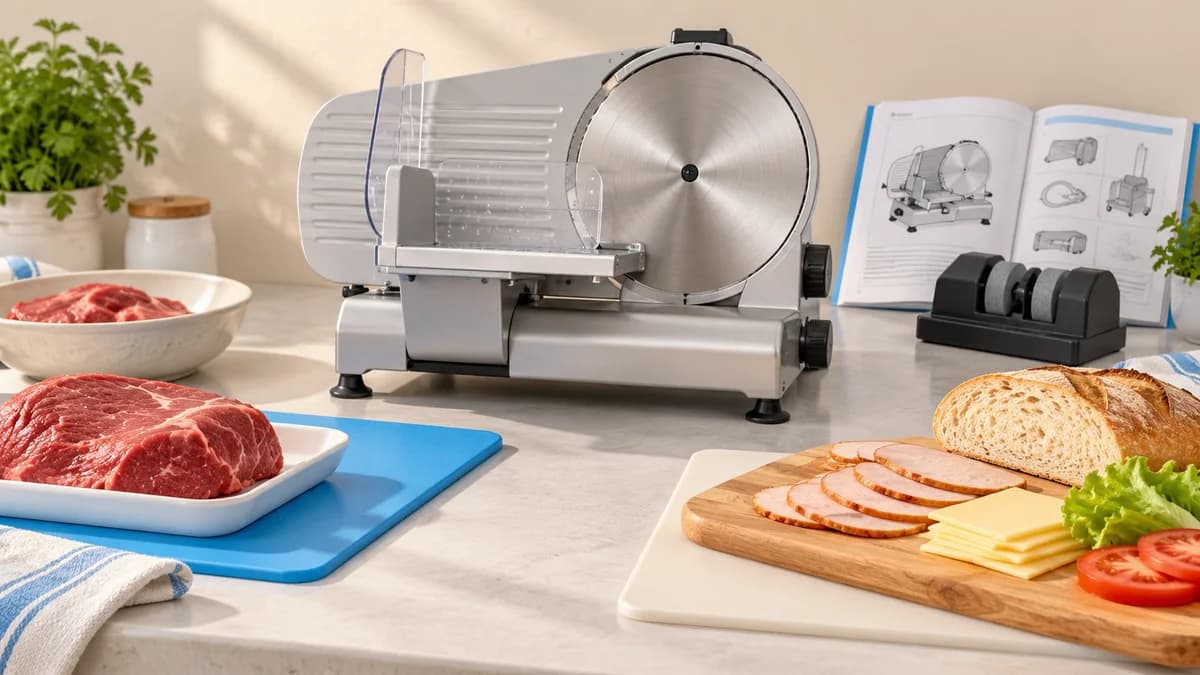
USDA's food-handling guidance separates raw meat from ready-to-eat foods to avoid cross-contamination. Apply that principle to your work area and utensils: bread or cooked slices should not share a dirty preparation surface with raw meat. Changing foods may require a full cleaning and sanitizing process, not simply removing visible scraps.
Before the next use, check that the slicer is correctly reassembled with its required guards in place. Blade sharpening is a separate maintenance task; use the manufacturer's procedure or service advice instead of adding it to routine washing.
If you are still choosing a machine, our meat slicer guide compares home options. Give cleaning access and the availability of a readable manual as much attention as blade size. A slicer that is awkward for you to dismantle safely may be a poor fit even if its cutting specifications look appealing.
Sources: USDA FSIS: cutting boards and cross-contamination; NESCO: FS-250 manual, safety and cleaning instructions; OSTBA: SL518 200W manual hosted by Home Depot
Common questions
Can I put meat slicer parts in the dishwasher?
Only when the instructions for that exact model permit it. Some manuals specify hand-washing; permission for removable parts never means the powered base can be immersed.
Can I clean the blade while it spins?
No. Switch off, unplug and let the blade stop before cleaning. Follow the model's safe handling procedure rather than holding a cloth against a moving blade.
Is wiping the blade enough after slicing?
A quick wipe does not replace cleaning the food-contact areas required by your manual. Remove residue and follow any appropriate sanitizing procedure, including the product's contact time and rinse instructions.
PUT IT INTO PRACTICE
Compare your options
Compare five home slicers, including size, food suitability and cleaning considerations before choosing one.
Compare meat slicers for home useSources and editorial approach
ChooseRight researched the sources below to explain the topic and its practical trade-offs. Examples are illustrations, not results from our own product testing. Sources checked October 21, 2026. Artwork is AI-generated for explanation and does not document hands-on testing.