
START HERE
The short answer
Check the model manual, move perishables to suitable cold storage, unplug as directed and collect meltwater. Let ice melt without sharp tools or improvised heat. Clean and dry the interior, restart according to the manual and confirm the required temperature before returning food.
- Identify whether the whole appliance or only one compartment needs manual defrosting.
- Never chip ice with a knife or use an improvised electrical heater.
- Keep perishables cold throughout the task and verify temperature before refilling.
Check which compartment needs defrosting
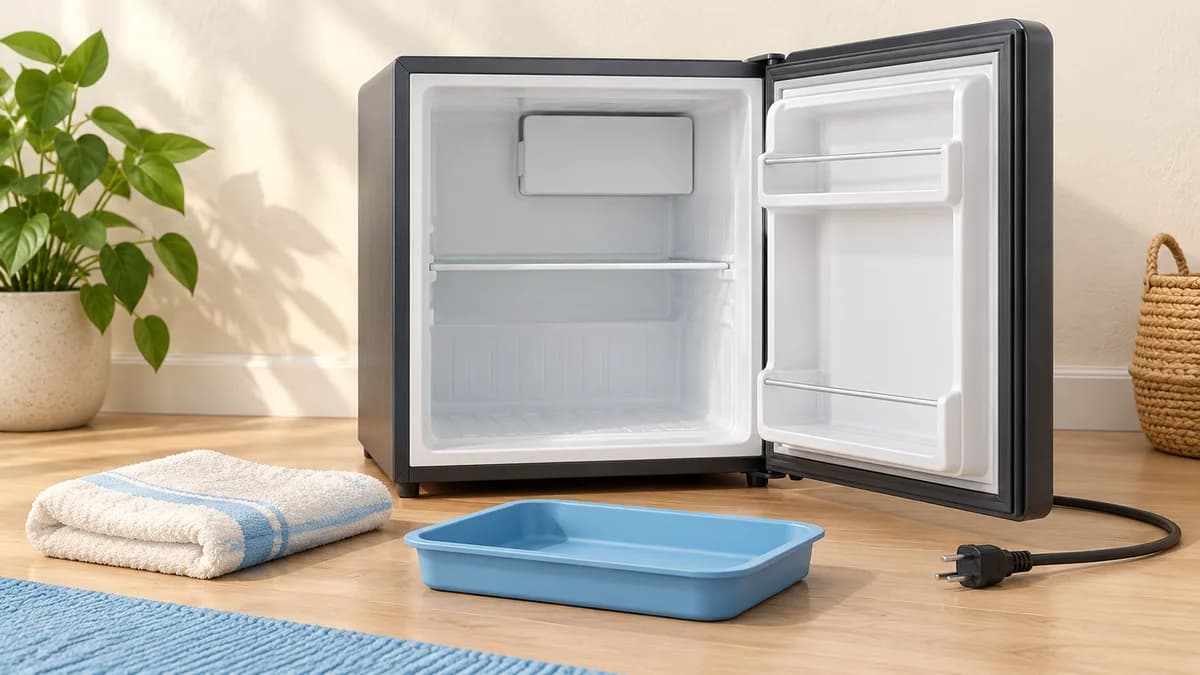
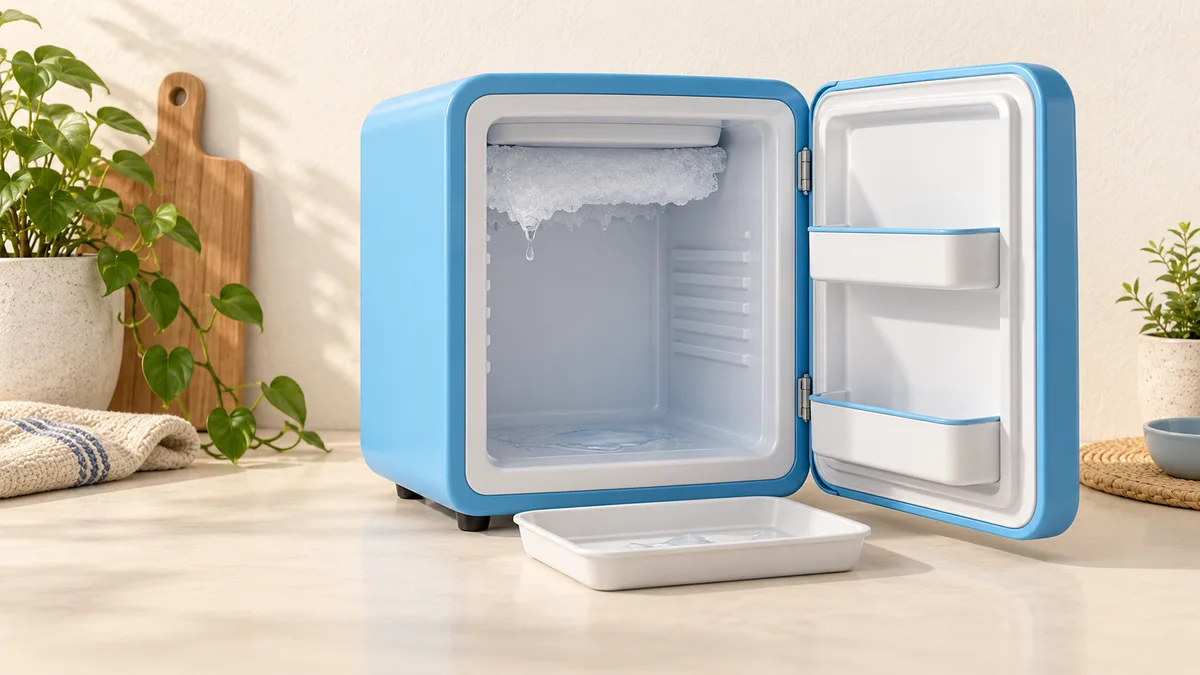
Look up the exact model rather than assuming every mini fridge has the same cooling system. A single-door refrigerator may have a cold plate or chiller that accumulates frost; a two-door unit can combine a refrigerator compartment with a separate freezer. Partial automatic defrost does not necessarily mean the entire appliance is frost-free.
The Midea WHS-65L manual specifies manual defrosting. Use your manual for the trigger to defrost, permitted tools and any drain or tray arrangement. Do not copy a universal schedule such as every month: frost accumulation depends on the design, room conditions, door openings and the condition of the seal.
Arrange cold storage before switching it off
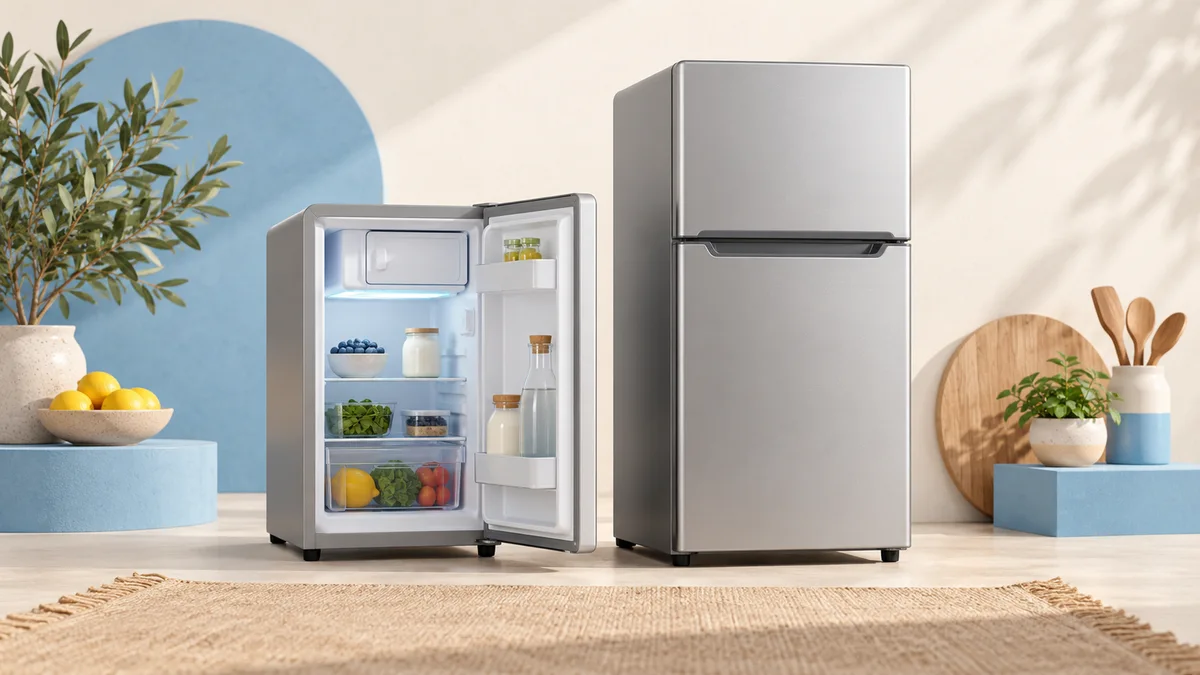
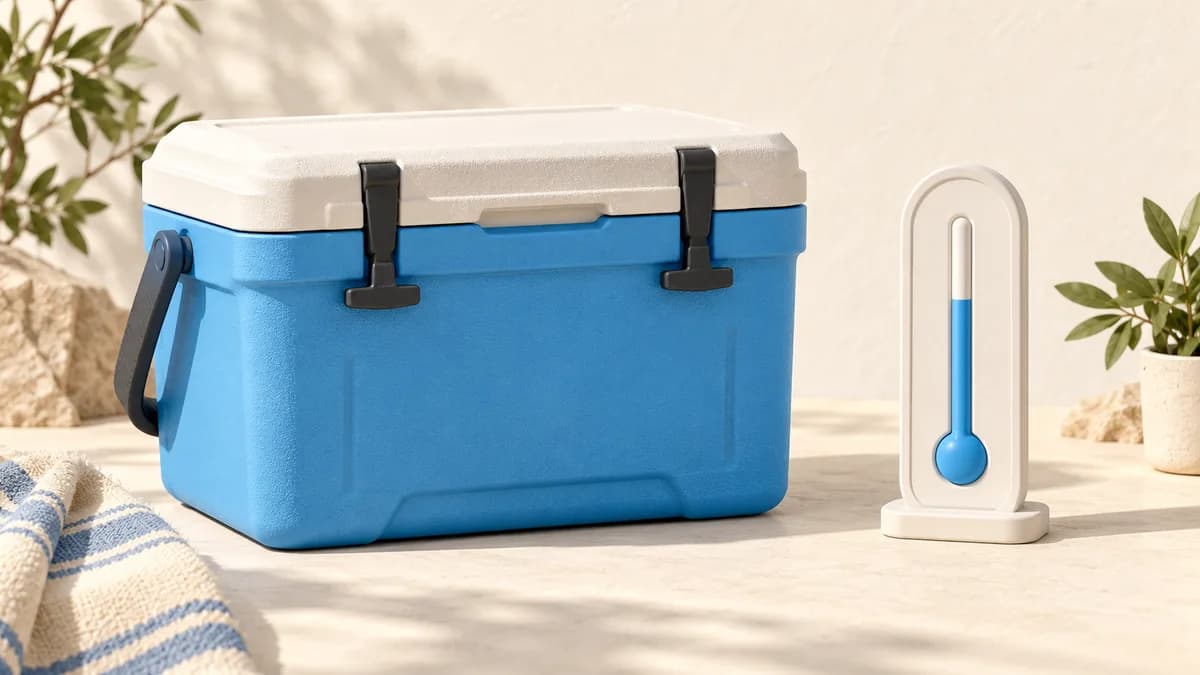
Move perishable food to another working refrigerator or a suitable insulated cooler with enough cold sources to maintain safe temperatures. Keep the cooler closed as much as possible and use a thermometer. A bedroom countertop is not an appropriate holding area for milk, meat or leftovers while you wait for ice to melt.
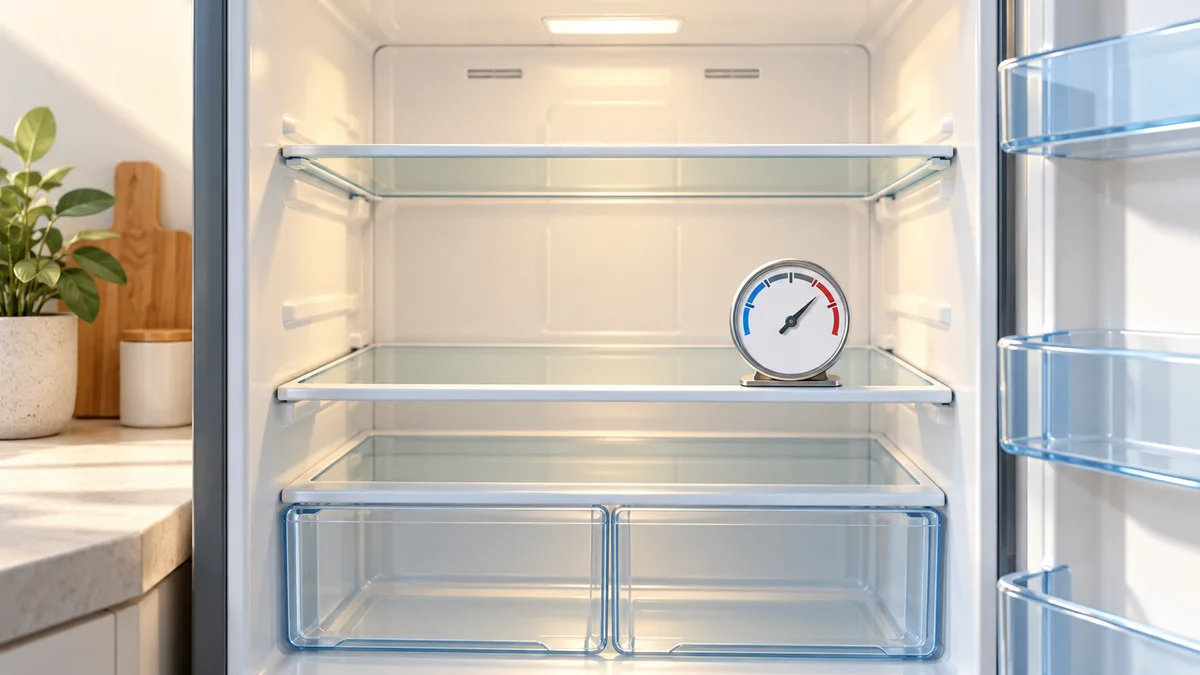
FDA recommends refrigerator temperatures of 40 F or below and freezer temperatures of 0 F. Time and temperature matter if food warms: do not judge safety by smell or taste. If you do not know how long food has been above a safe temperature, follow official food-safety guidance rather than assuming it will be safe after chilling again.
Unplug and make a controlled path for the water
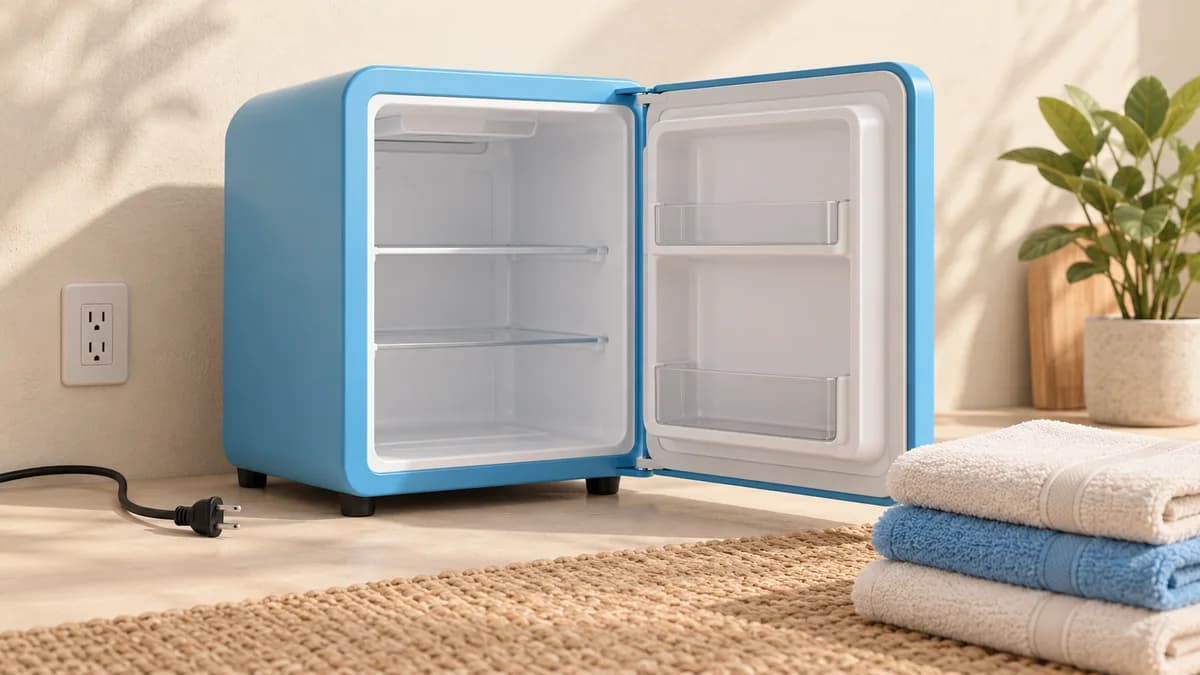
Follow the shutdown instructions and disconnect power before cleaning or defrosting where the manual directs. Turning the thermostat down is not necessarily the same as disconnecting the appliance. Keep the plug, outlet and electrical parts dry, and do not pull on the cord to unplug it.
Remove shelves or trays only as the instructions allow and without forcing parts frozen in place. Prepare towels or a suitable collection tray for meltwater while keeping the surrounding floor clear. A small refrigerator can release more water than expected once accumulated ice melts, so check the area during the task rather than leaving it unattended for hours.
Let the frost release without force or improvised heat
The checked Midea manual allows the temperature to rise naturally until frost melts and warns against unapproved ways of accelerating defrost. That is a useful conservative approach when planning the job. Do not use a knife, screwdriver or other sharp object that could puncture the refrigerant circuit or damage the lining.
Do not add a hair dryer, heat gun, boiling water or electrical heater as a shortcut unless the exact manufacturer instructions explicitly permit the method. Water and electricity are a poor combination, and concentrated heat can damage plastic. Even a plastic scraper should be used only where the manual allows it, without forcing a stuck block of ice.
| Method | Decision |
|---|---|
| Natural thawing | Use the model-approved procedure |
| Knife or screwdriver | Do not use to chip ice |
| Hair dryer or heat gun | Do not improvise with electrical heat |
| Plastic scraper | Only if explicitly permitted, without force |
Dry it, restart it and verify the temperature
Clean with the products and method permitted by the manual, then remove remaining water and let the interior dry. Check the door gasket and ensure shelves are seated correctly. Reconnect and restart only as instructed; if you moved or tilted the appliance, use the manufacturer's settling and restart guidance rather than guessing a waiting period.
Allow cooling to stabilize and use an appliance thermometer before returning perishables. A cold-feeling shelf or the sound of the compressor is not proof of safe storage. If heavy frost returns quickly, inspect door closure, damaged seals and the loading pattern, and seek service when needed. Our mini-fridge guide compares maintenance demands alongside capacity so this task is part of the buying decision.
Sources: Midea WHS-65L user manual: cleaning and defrost; FDA: refrigerator thermometers and food safety
Common questions
How long does a mini fridge take to defrost?
There is no reliable universal time. Ice thickness, room temperature and the model affect thawing, and the fridge also needs time to cool again.
Can I use a hair dryer?
Do not improvise with electrical heat. Use only methods explicitly permitted by the exact manufacturer instructions.
Can I put food back as soon as the ice is gone?
No. Clean and dry as instructed, restart the appliance and verify the required storage temperature before returning perishables.
PUT IT INTO PRACTICE
Compare your options
Compare five compact refrigeration formats, their storage layouts and installation limits.
Best mini fridges for bedroomsSources and editorial approach
ChooseRight researched the sources below to explain the topic and its practical trade-offs. Examples are illustrations, not results from our own product testing. Sources checked October 23, 2026. Artwork is AI-generated for explanation and does not document hands-on testing.