
START HERE
The short answer
Choose a compatible stretcher, retract it before inserting, add spot plugs only where needed, and expand gradually using its instructions. Release the mechanism before removal and reassess the shoe on your foot. Stop if seams, lining or shape begin to distort.
- Width, length and instep tools address different areas.
- Test any stretching spray on a hidden area first.
- Several modest adjustments are preferable to forcing a large change.
Locate the problem before choosing a tool
Try the shoes with the socks you intend to wear and identify the tight area. A toe box that pinches at the side is a different problem from inadequate toe length or pressure over the instep. Describe the location before deciding which mechanism you need.
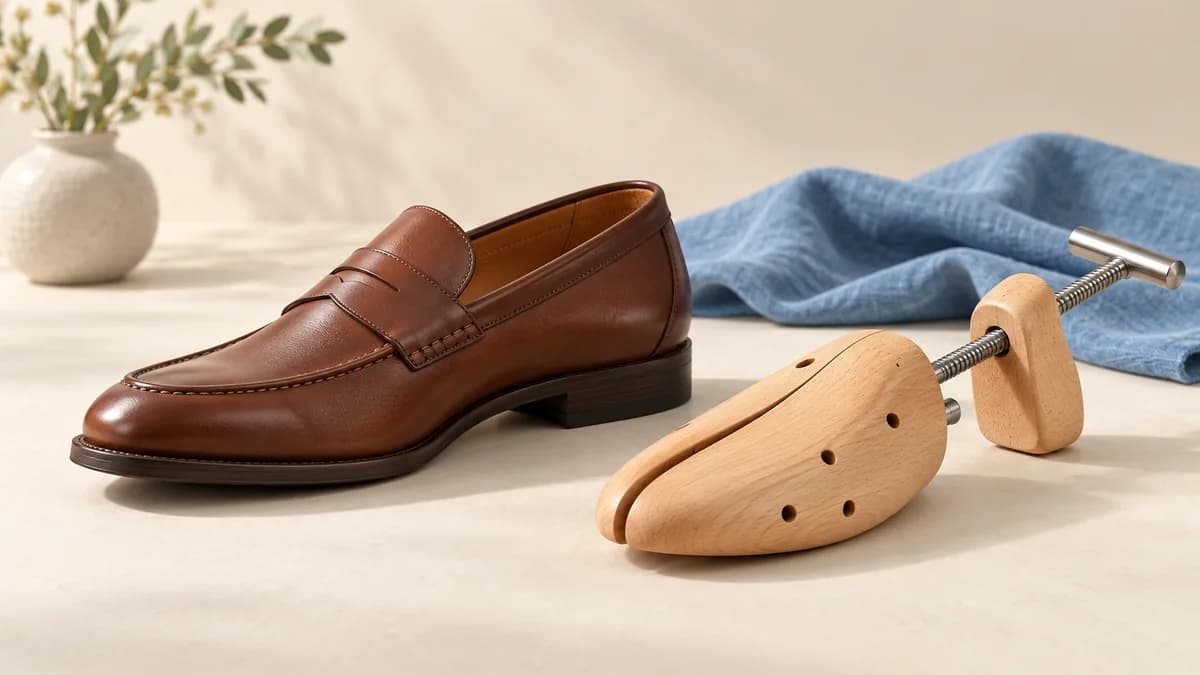
FootFitter's one-way tool targets toe-box width, while its two-way version also includes a length adjustment. A familiar wooden shape does not mean every stretcher performs both jobs. For a valuable shoe or uncertain fit problem, a shoe repairer can assess whether adjustment is sensible.

Sources: FootFitter: One-way stretcher instructions; FootFitter: Two-way stretcher instructions
Check the material and the shoe's condition
Read the stretcher and shoe-care instructions together. A claim that a tool fits your shoe size does not establish that the upper, lining, glued parts and decorative finish will all respond safely. Do not force a damaged seam or a cracked upper into service.
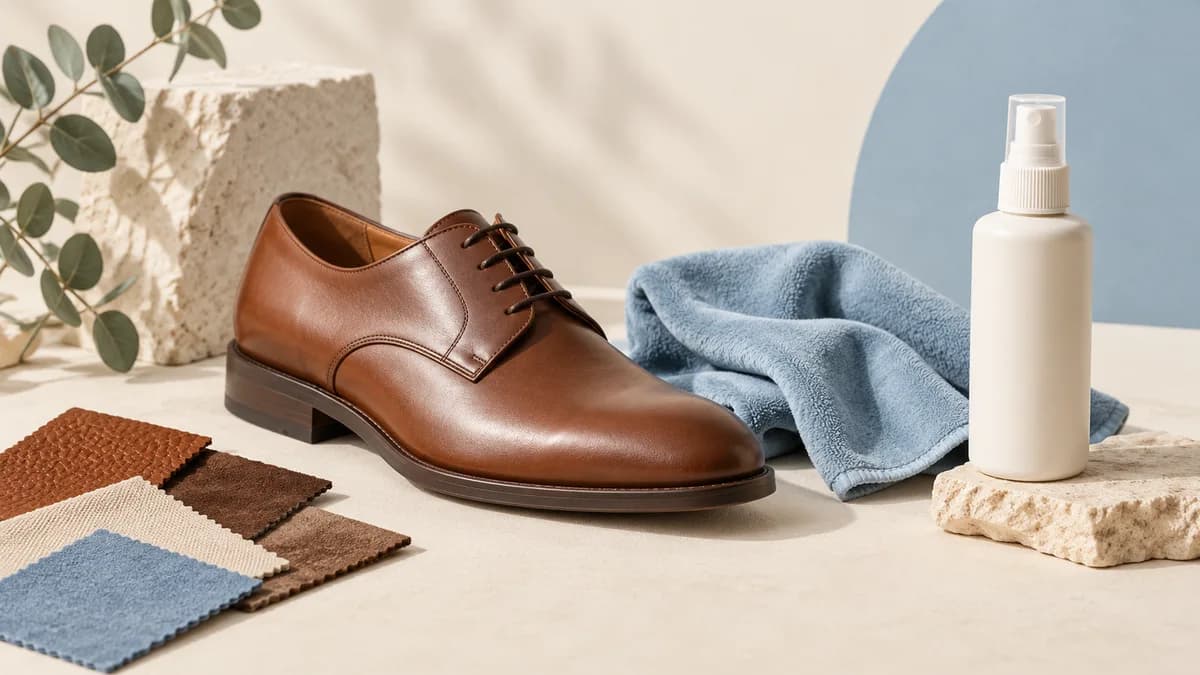
If a stretch spray is recommended, confirm that it suits the material and test it on a concealed spot. Langer & Messmer explicitly calls for a compatibility check. Keep any spray away from areas the shoe maker says to protect, and allow the specified preparation time.
Retract the tool and position any spot plugs
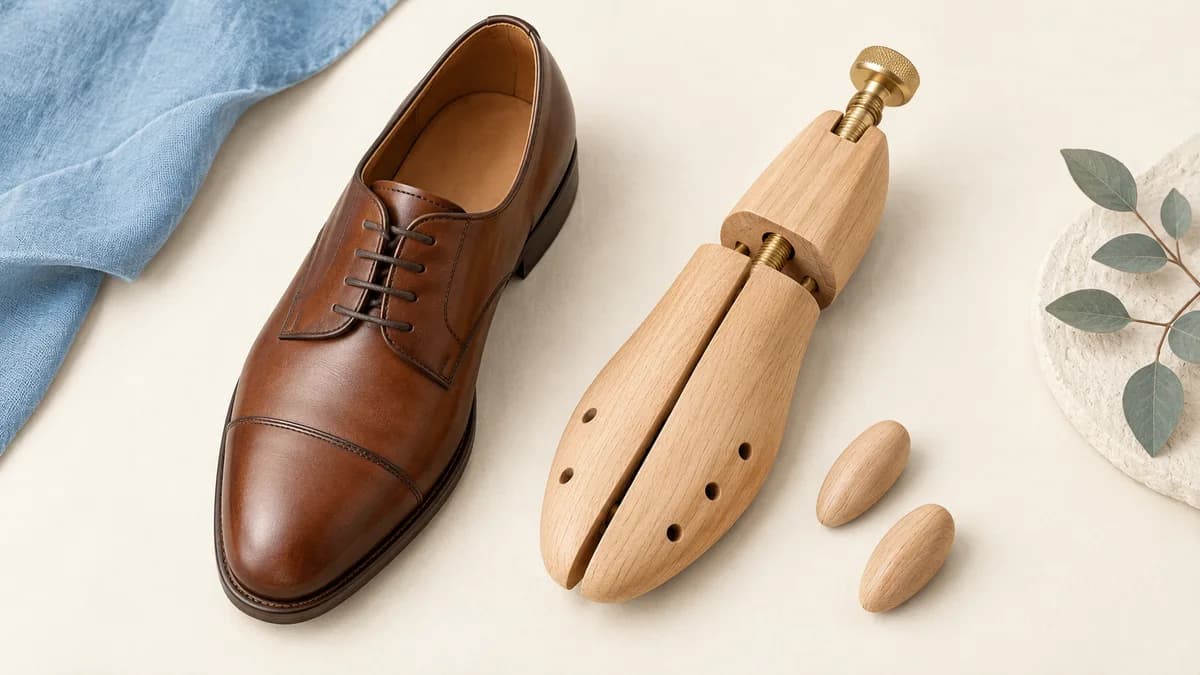
Close the expanding parts before inserting the tool. Place optional spot plugs only in positions that correspond to the pressure area. Too many plugs can make it harder to tell which adjustment helped and can apply pressure where none was needed.
Seat the tool according to its manual without scraping or crushing the heel lining. For a two-way model, identify the width handle and length wheel before turning either. Do not copy clockwise or counterclockwise instructions from a different design.
Sources: FootFitter: Two-way stretcher instructions; FootFitter: One-way stretcher instructions
Apply modest tension and allow the stated time
Increase tension gradually within the maker's instructions. Langer & Messmer advises repeated modest stretching rather than one intense attempt. Stop if the tool binds, the shoe deforms or the material appears stressed; more force is not a reliable solution.
Use the specified holding time for that tool and material. FootFitter gives at least six to eight hours for the cited models, but this is not a promise of a particular size increase. Keep a note of the adjustment so a second attempt is deliberate rather than simply stronger.
Sources: Langer & Messmer: Shoe stretcher instructions; FootFitter: Two-way stretcher instructions
Release, try on and decide whether to stop
Fully retract the mechanism before removing it slowly. Try the shoe again with the intended socks and walk briefly on an appropriate indoor surface. The goal is comfortable fit without unwanted movement, not simply a looser shoe in every direction.
If the pressure persists, consider returning the shoes or asking a cobbler about a targeted adjustment rather than repeatedly expanding them. A stretcher cannot diagnose foot pain. Pain, numbness or a foot condition deserves appropriate professional advice, not an increasingly aggressive DIY fit experiment.
| Fit issue | Check before adjusting |
|---|---|
| Side pressure at toe box | Width tool and material compatibility |
| Localized pressure point | Correct spot-plug position |
| Pressure across instep | Whether a specialized instep tool is needed |
| Toes hit the front | Whether the original size or shape is unsuitable |
Sources: FootFitter: One-way stretcher instructions; Langer & Messmer: Shoe stretcher instructions
Common questions
Will a stretcher add a full shoe size?
Do not count on a fixed size increase. Material, construction and the location of tightness affect the result.
Can I leave it in longer for more stretch?
Follow the product instructions and reassess the shoe. Longer time does not remove the risk of distortion or damage.
Is a shoe tree the same thing?
No. A shoe tree primarily supports shape during storage; use an actual stretching tool with suitable instructions for deliberate fit adjustment.
Sources and editorial approach
ChooseRight researched the sources below to explain the topic and its practical trade-offs. Examples are illustrations, not results from our own product testing. Sources checked October 30, 2026. Artwork is AI-generated for explanation and does not document hands-on testing.